

Schedule Now & Get $25 Off
Maytag Dryer Heating Element Replacement & Deep Cleaning for Brandon
Replacing a dryer heating element means getting well past the outer cabinet. On this Maytag project, we opened the appliance, removed the drum, replaced the heating element and cleaned the lint and debris we could reach along the way.
For Brandon homeowners, the project offers a clear look at how much of a dryer comes apart before the repair is finished.
Appliance: Maytag dryer
Repair: Heating element replacement and deep cleaning
Repair date: August 31, 2026
Opening the Maytag dryer
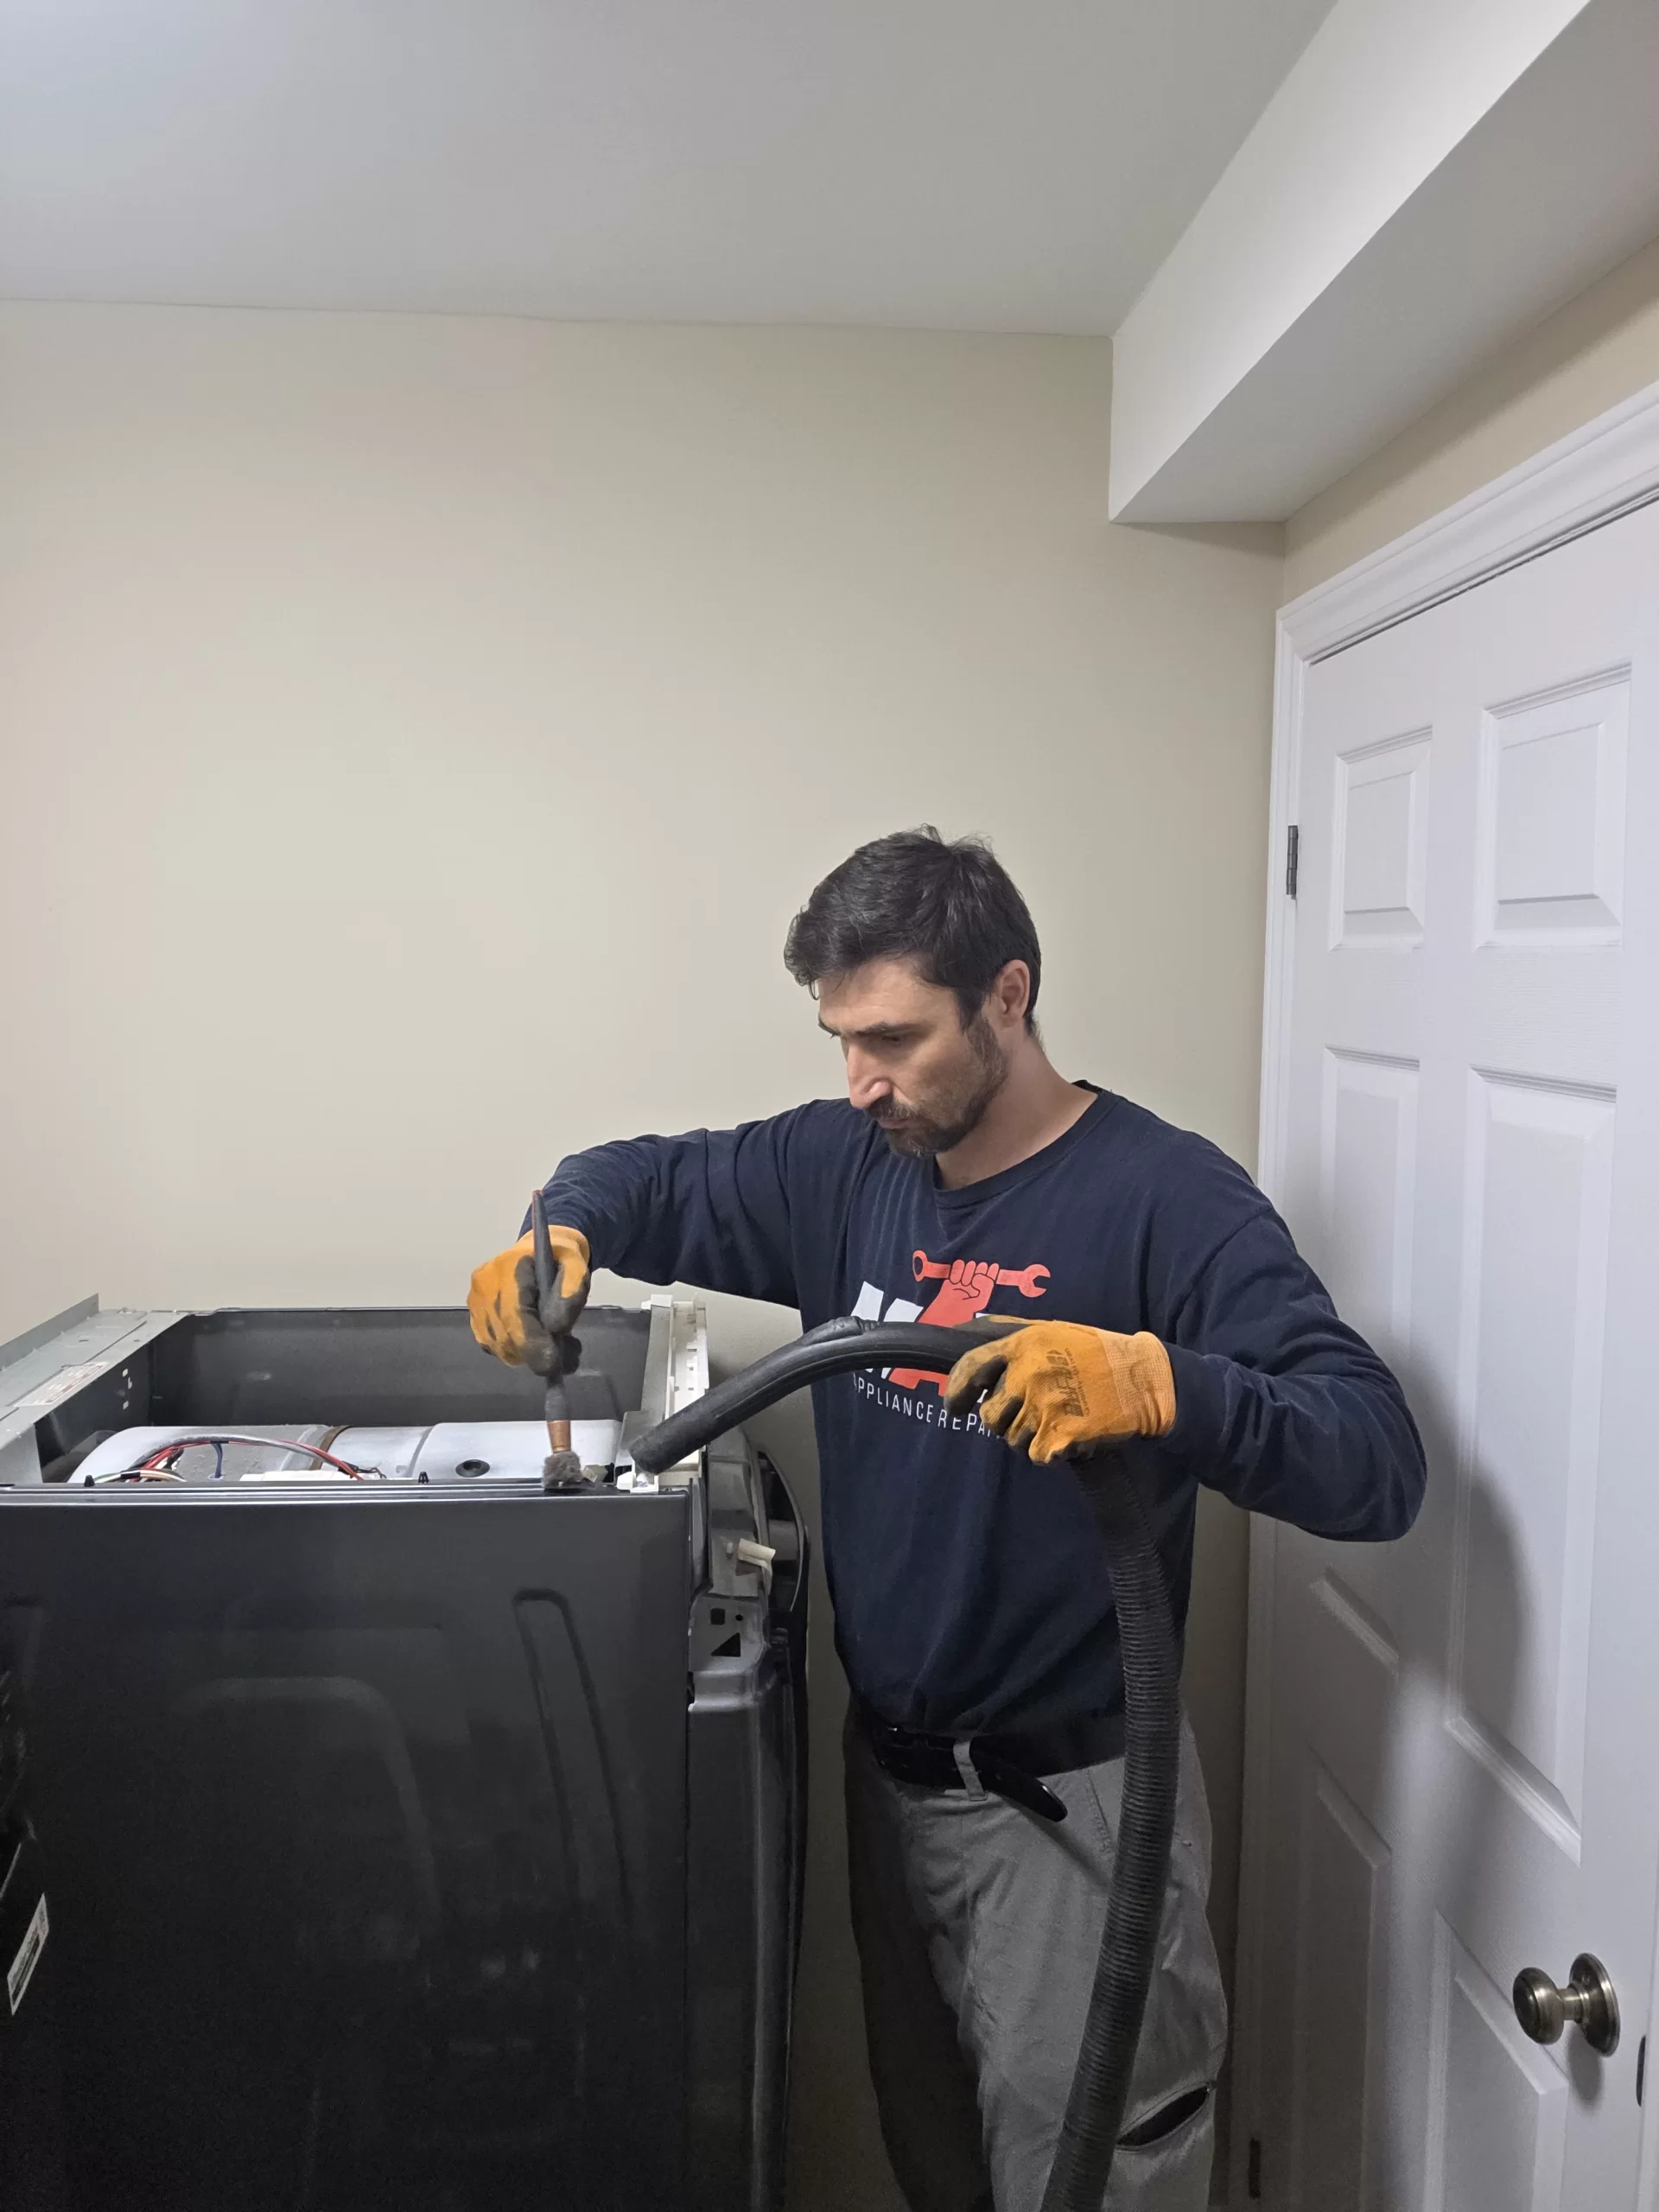
We started at the top of the appliance, removing the fasteners and moving the control console out of the way. From there, we opened the front of the cabinet and removed the drum and bulkhead to create space around the heating system.
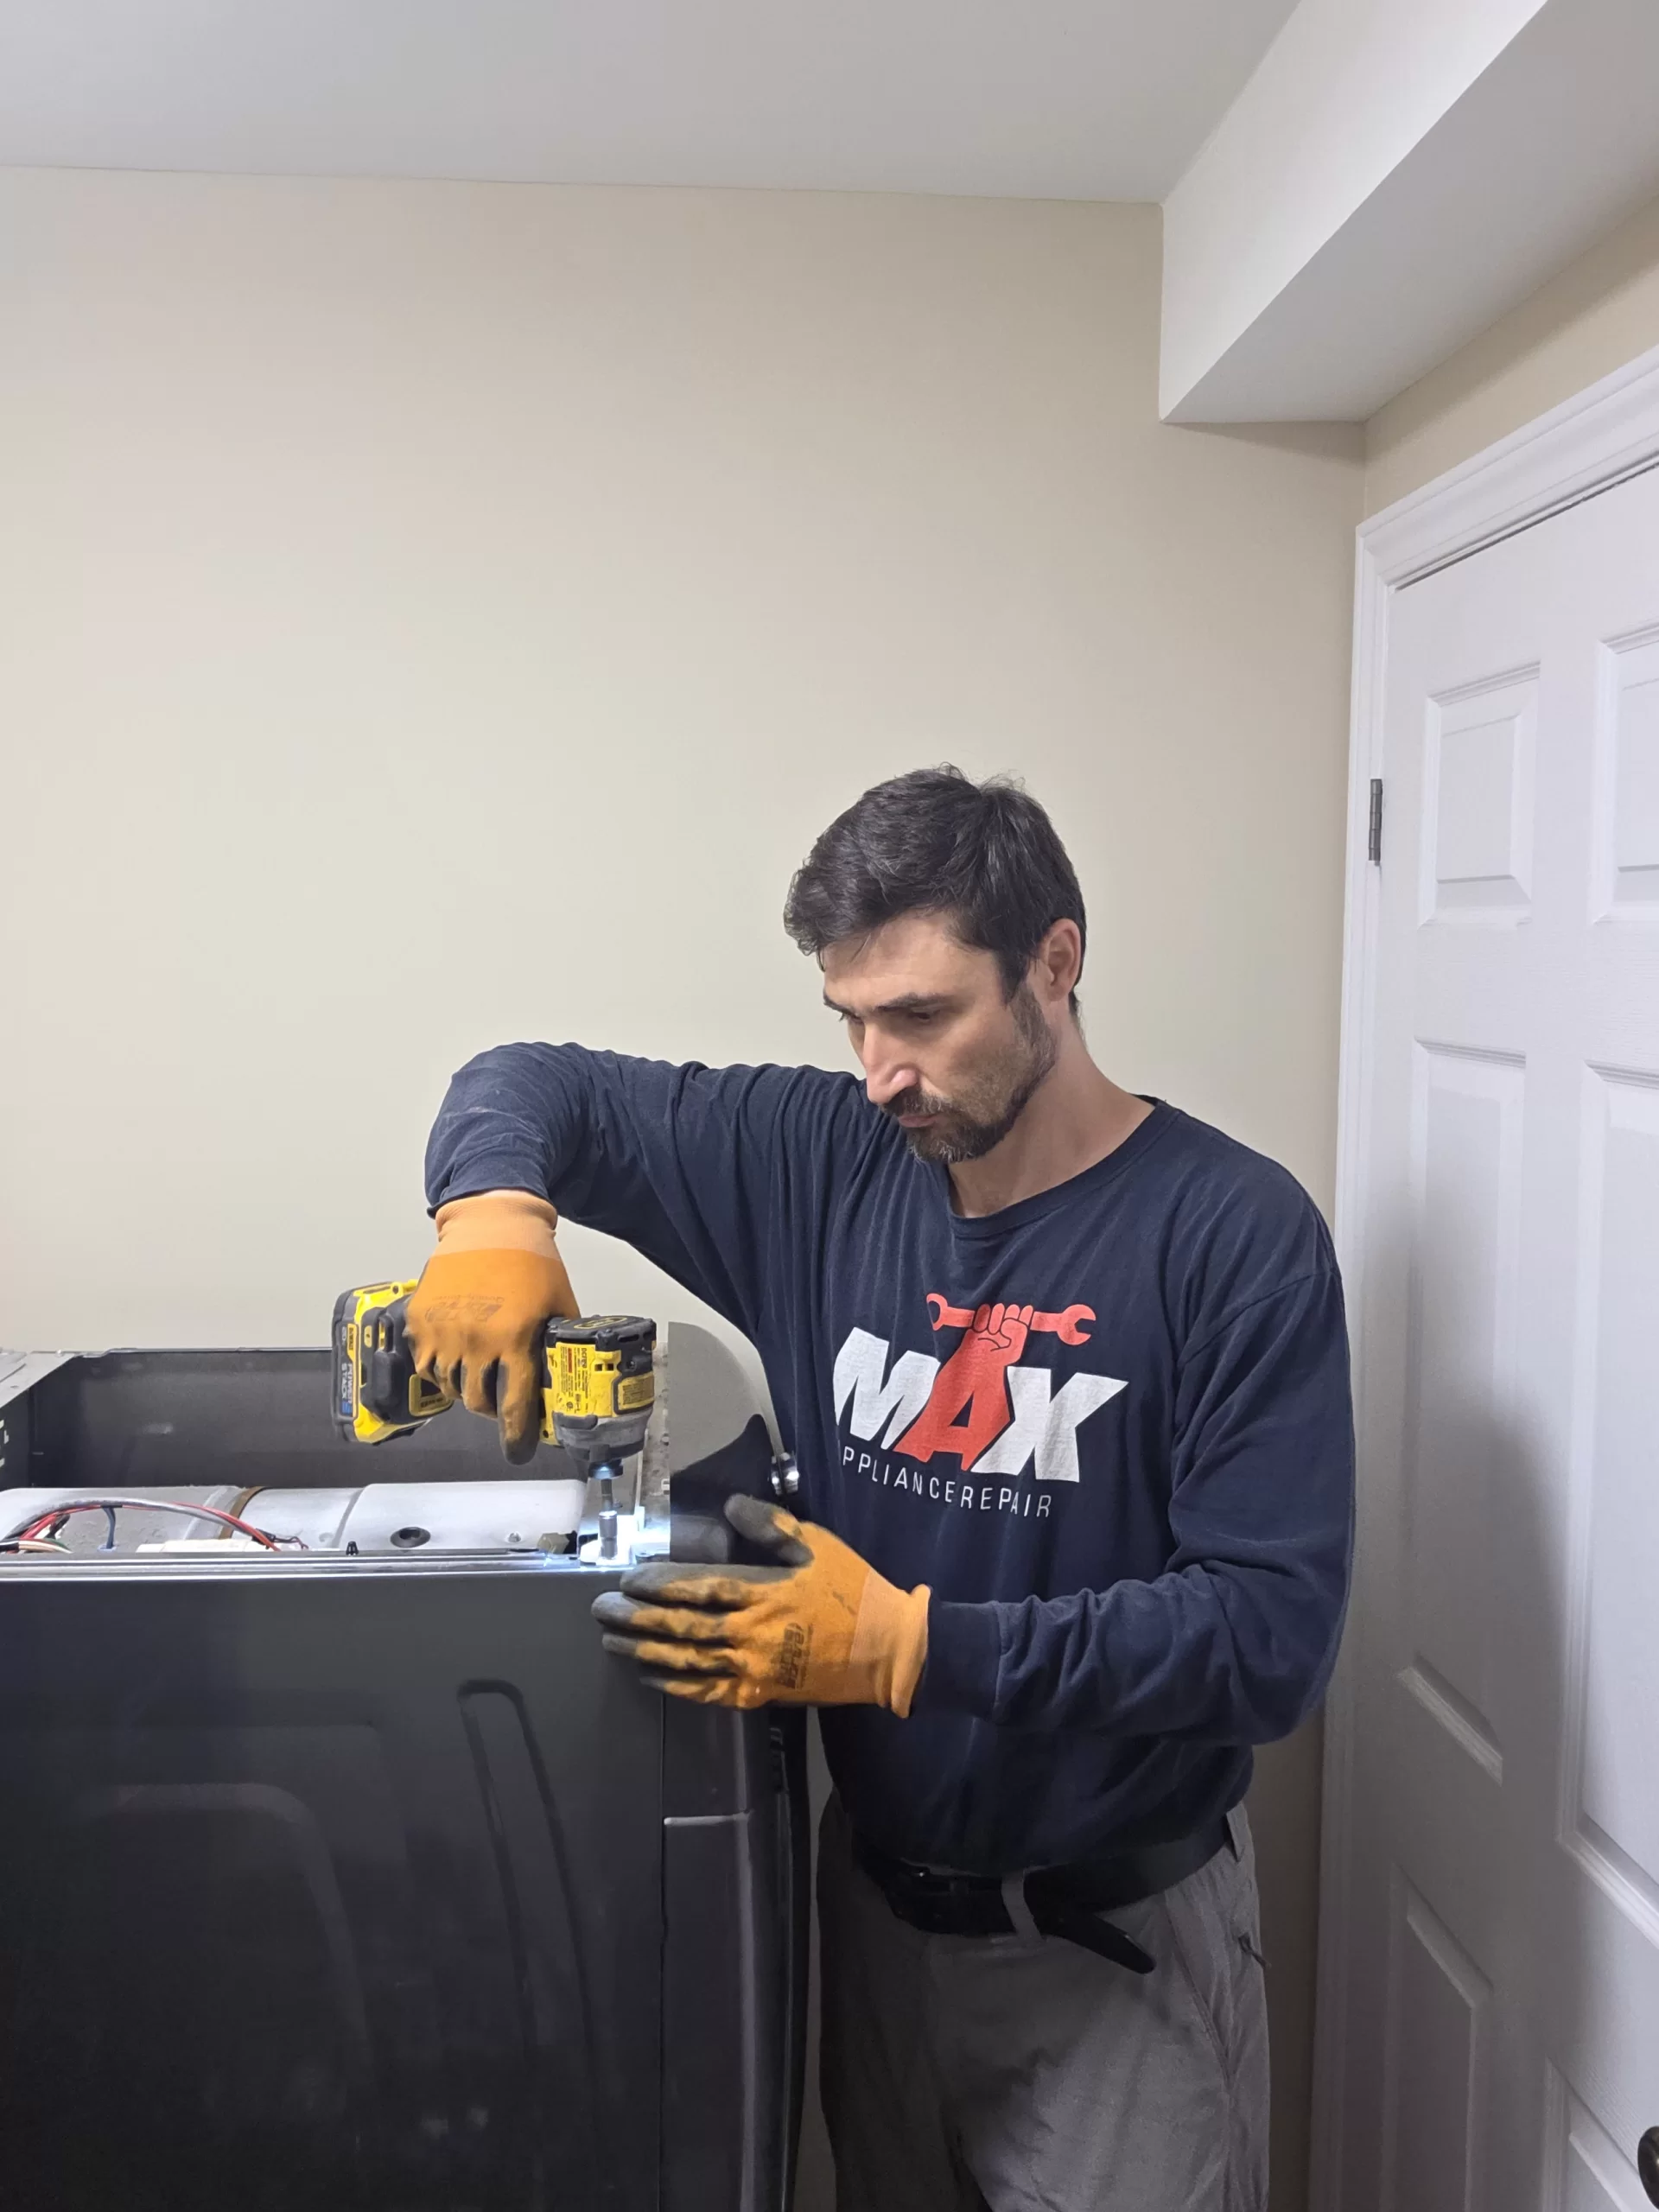
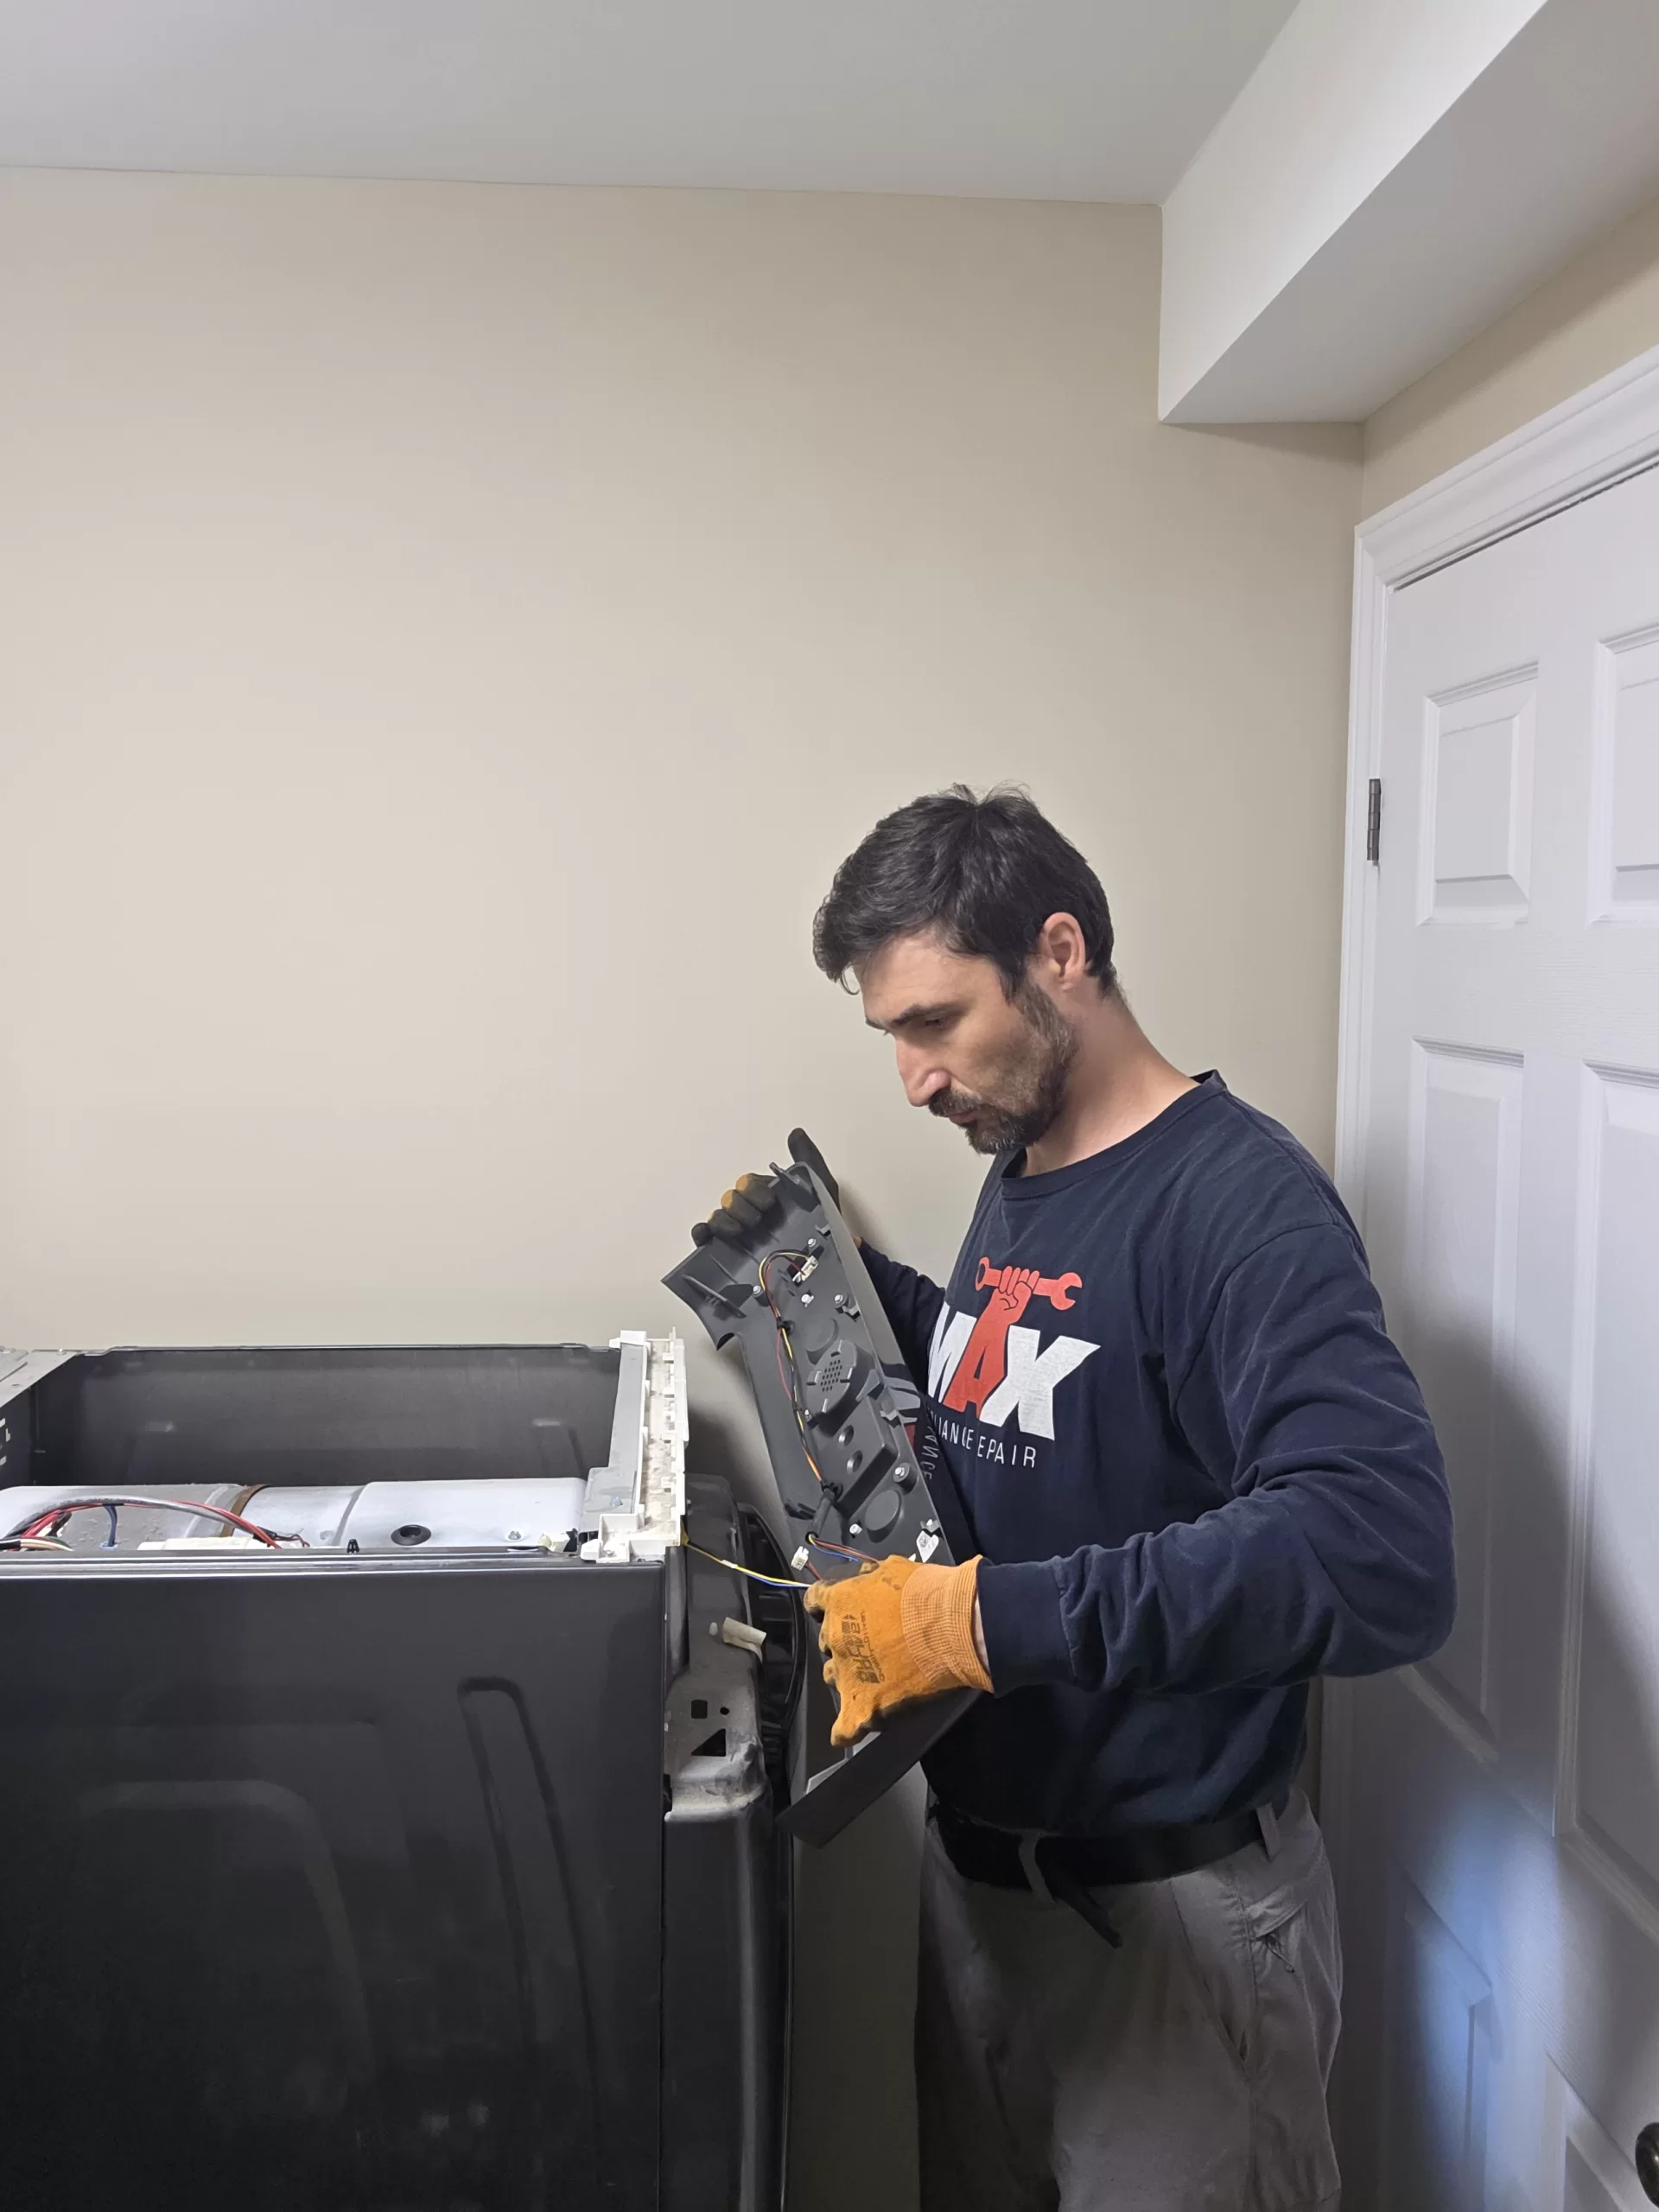
Replacing the element and cleaning inside
With the cabinet open, we completed the heating element replacement and vacuumed the exposed interior. This is the best time to clear hidden lint because the drum and front assembly are already out of the way.
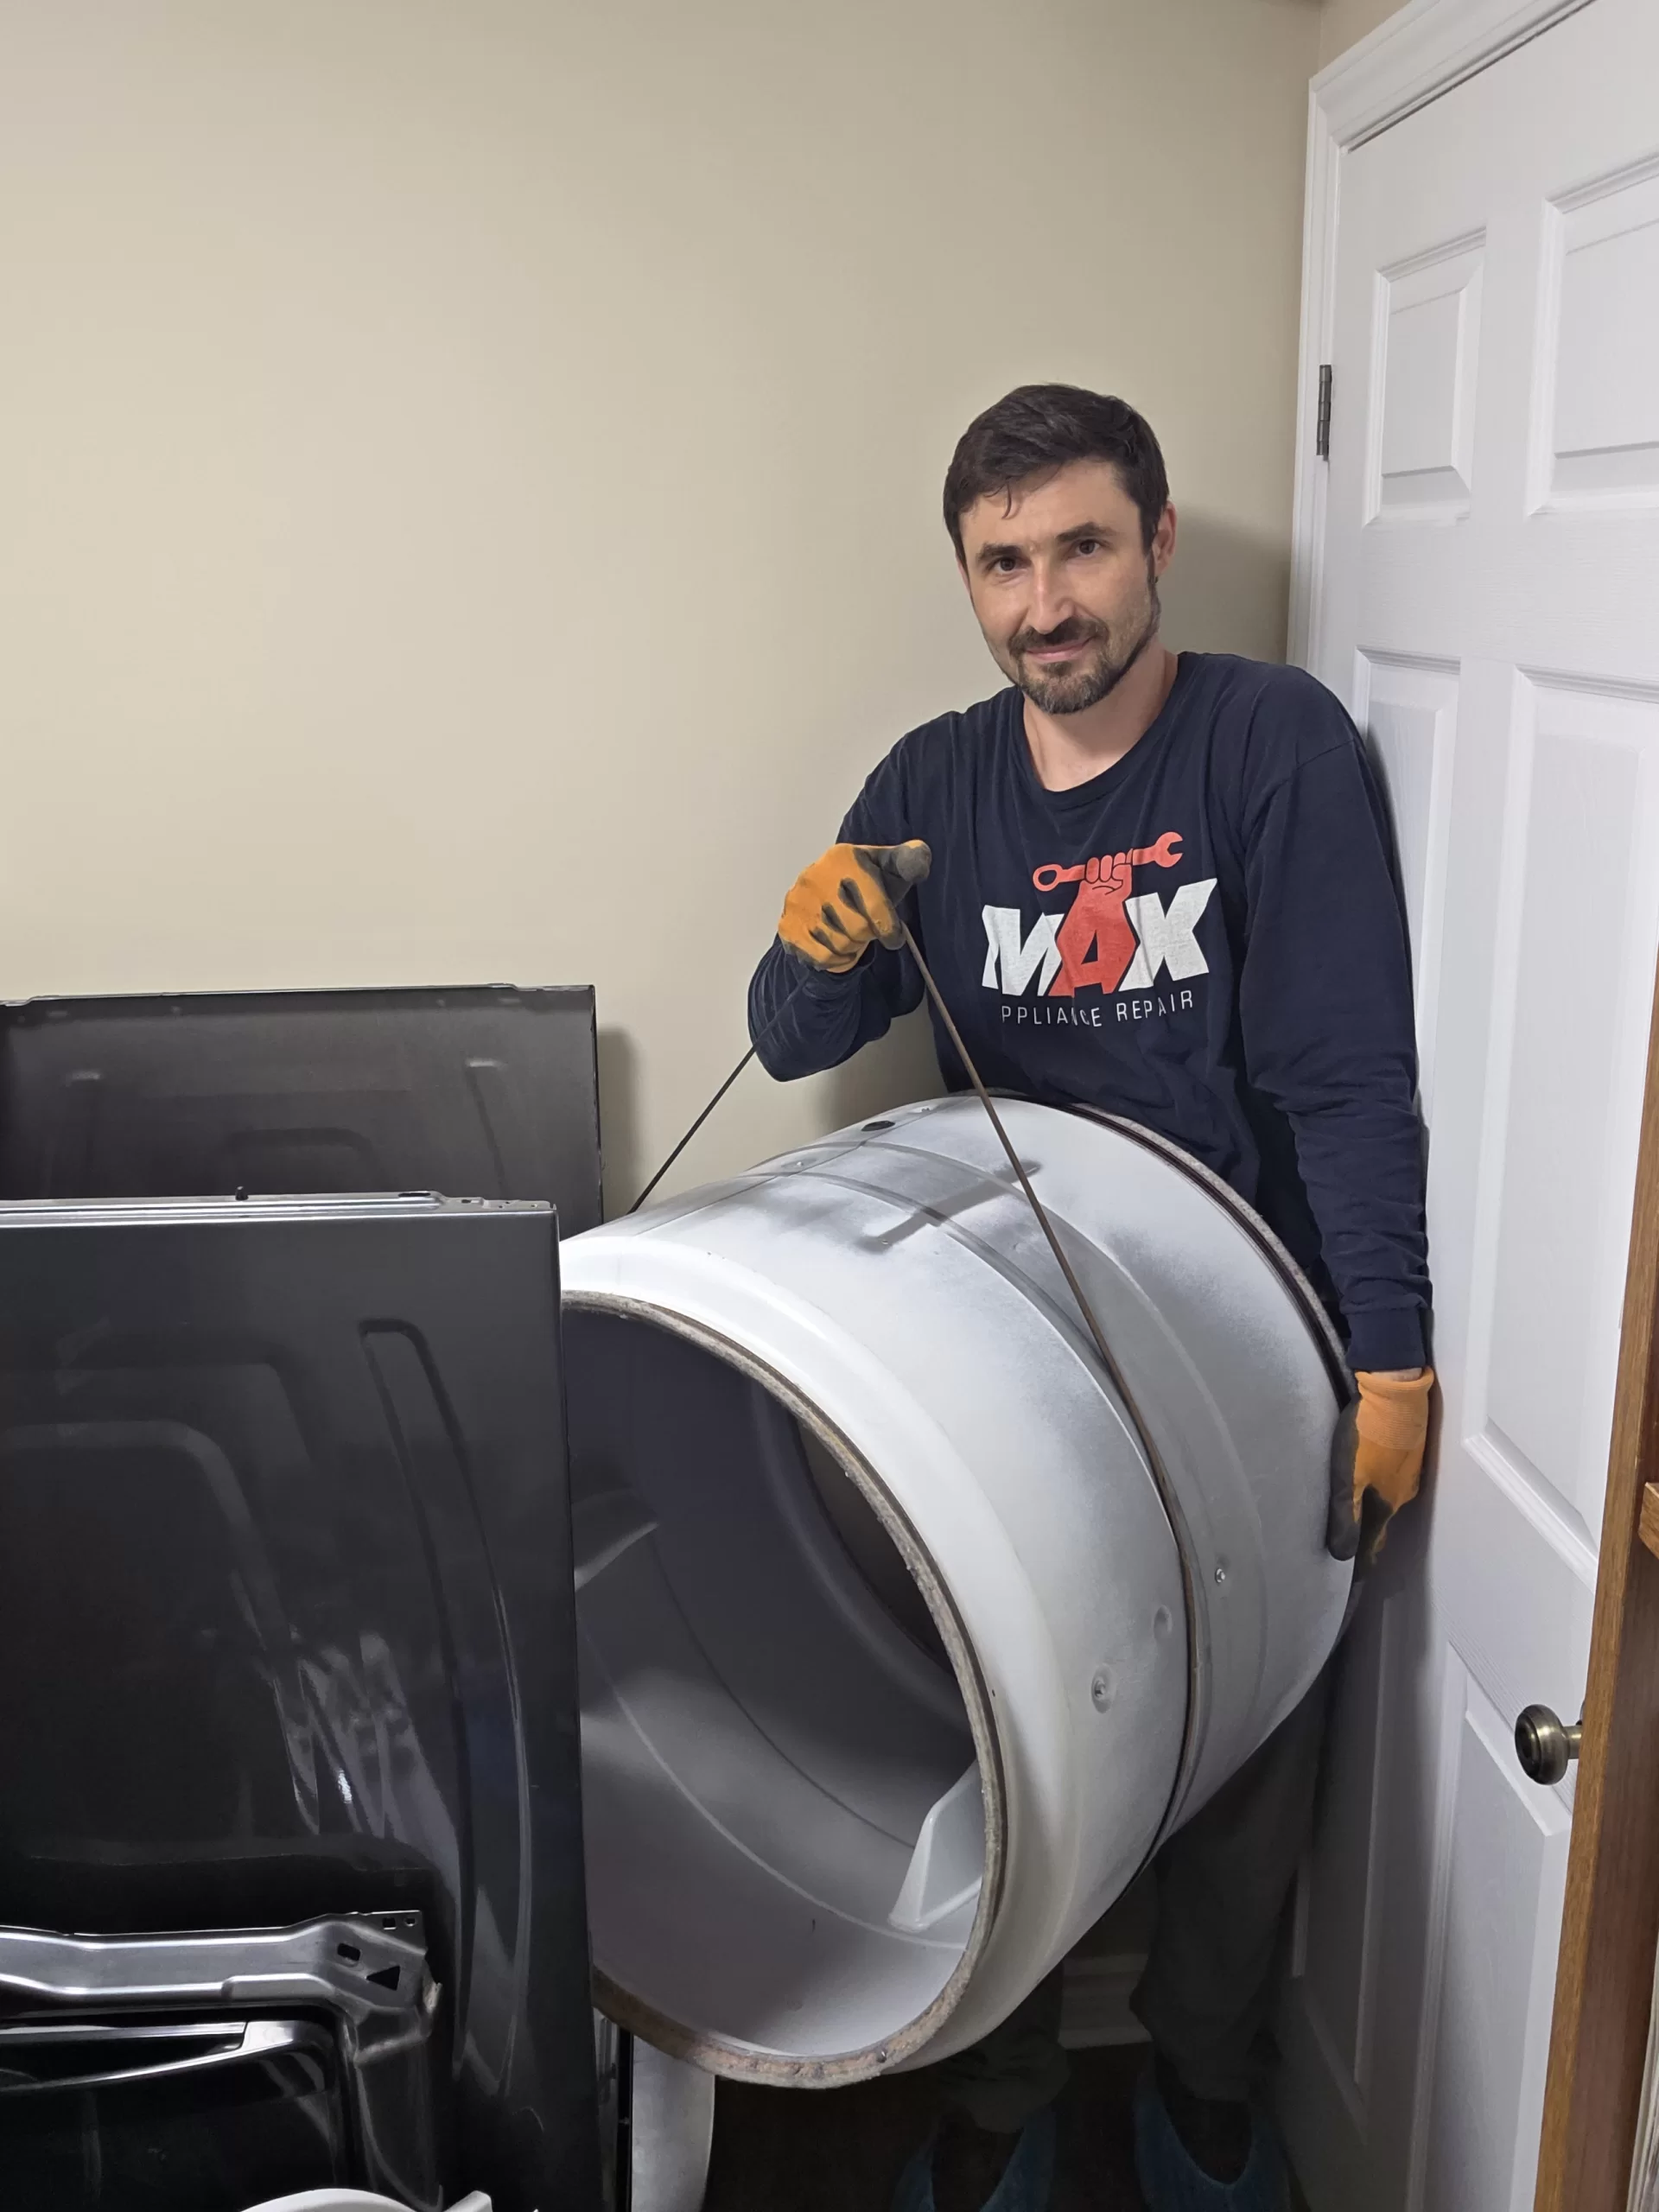
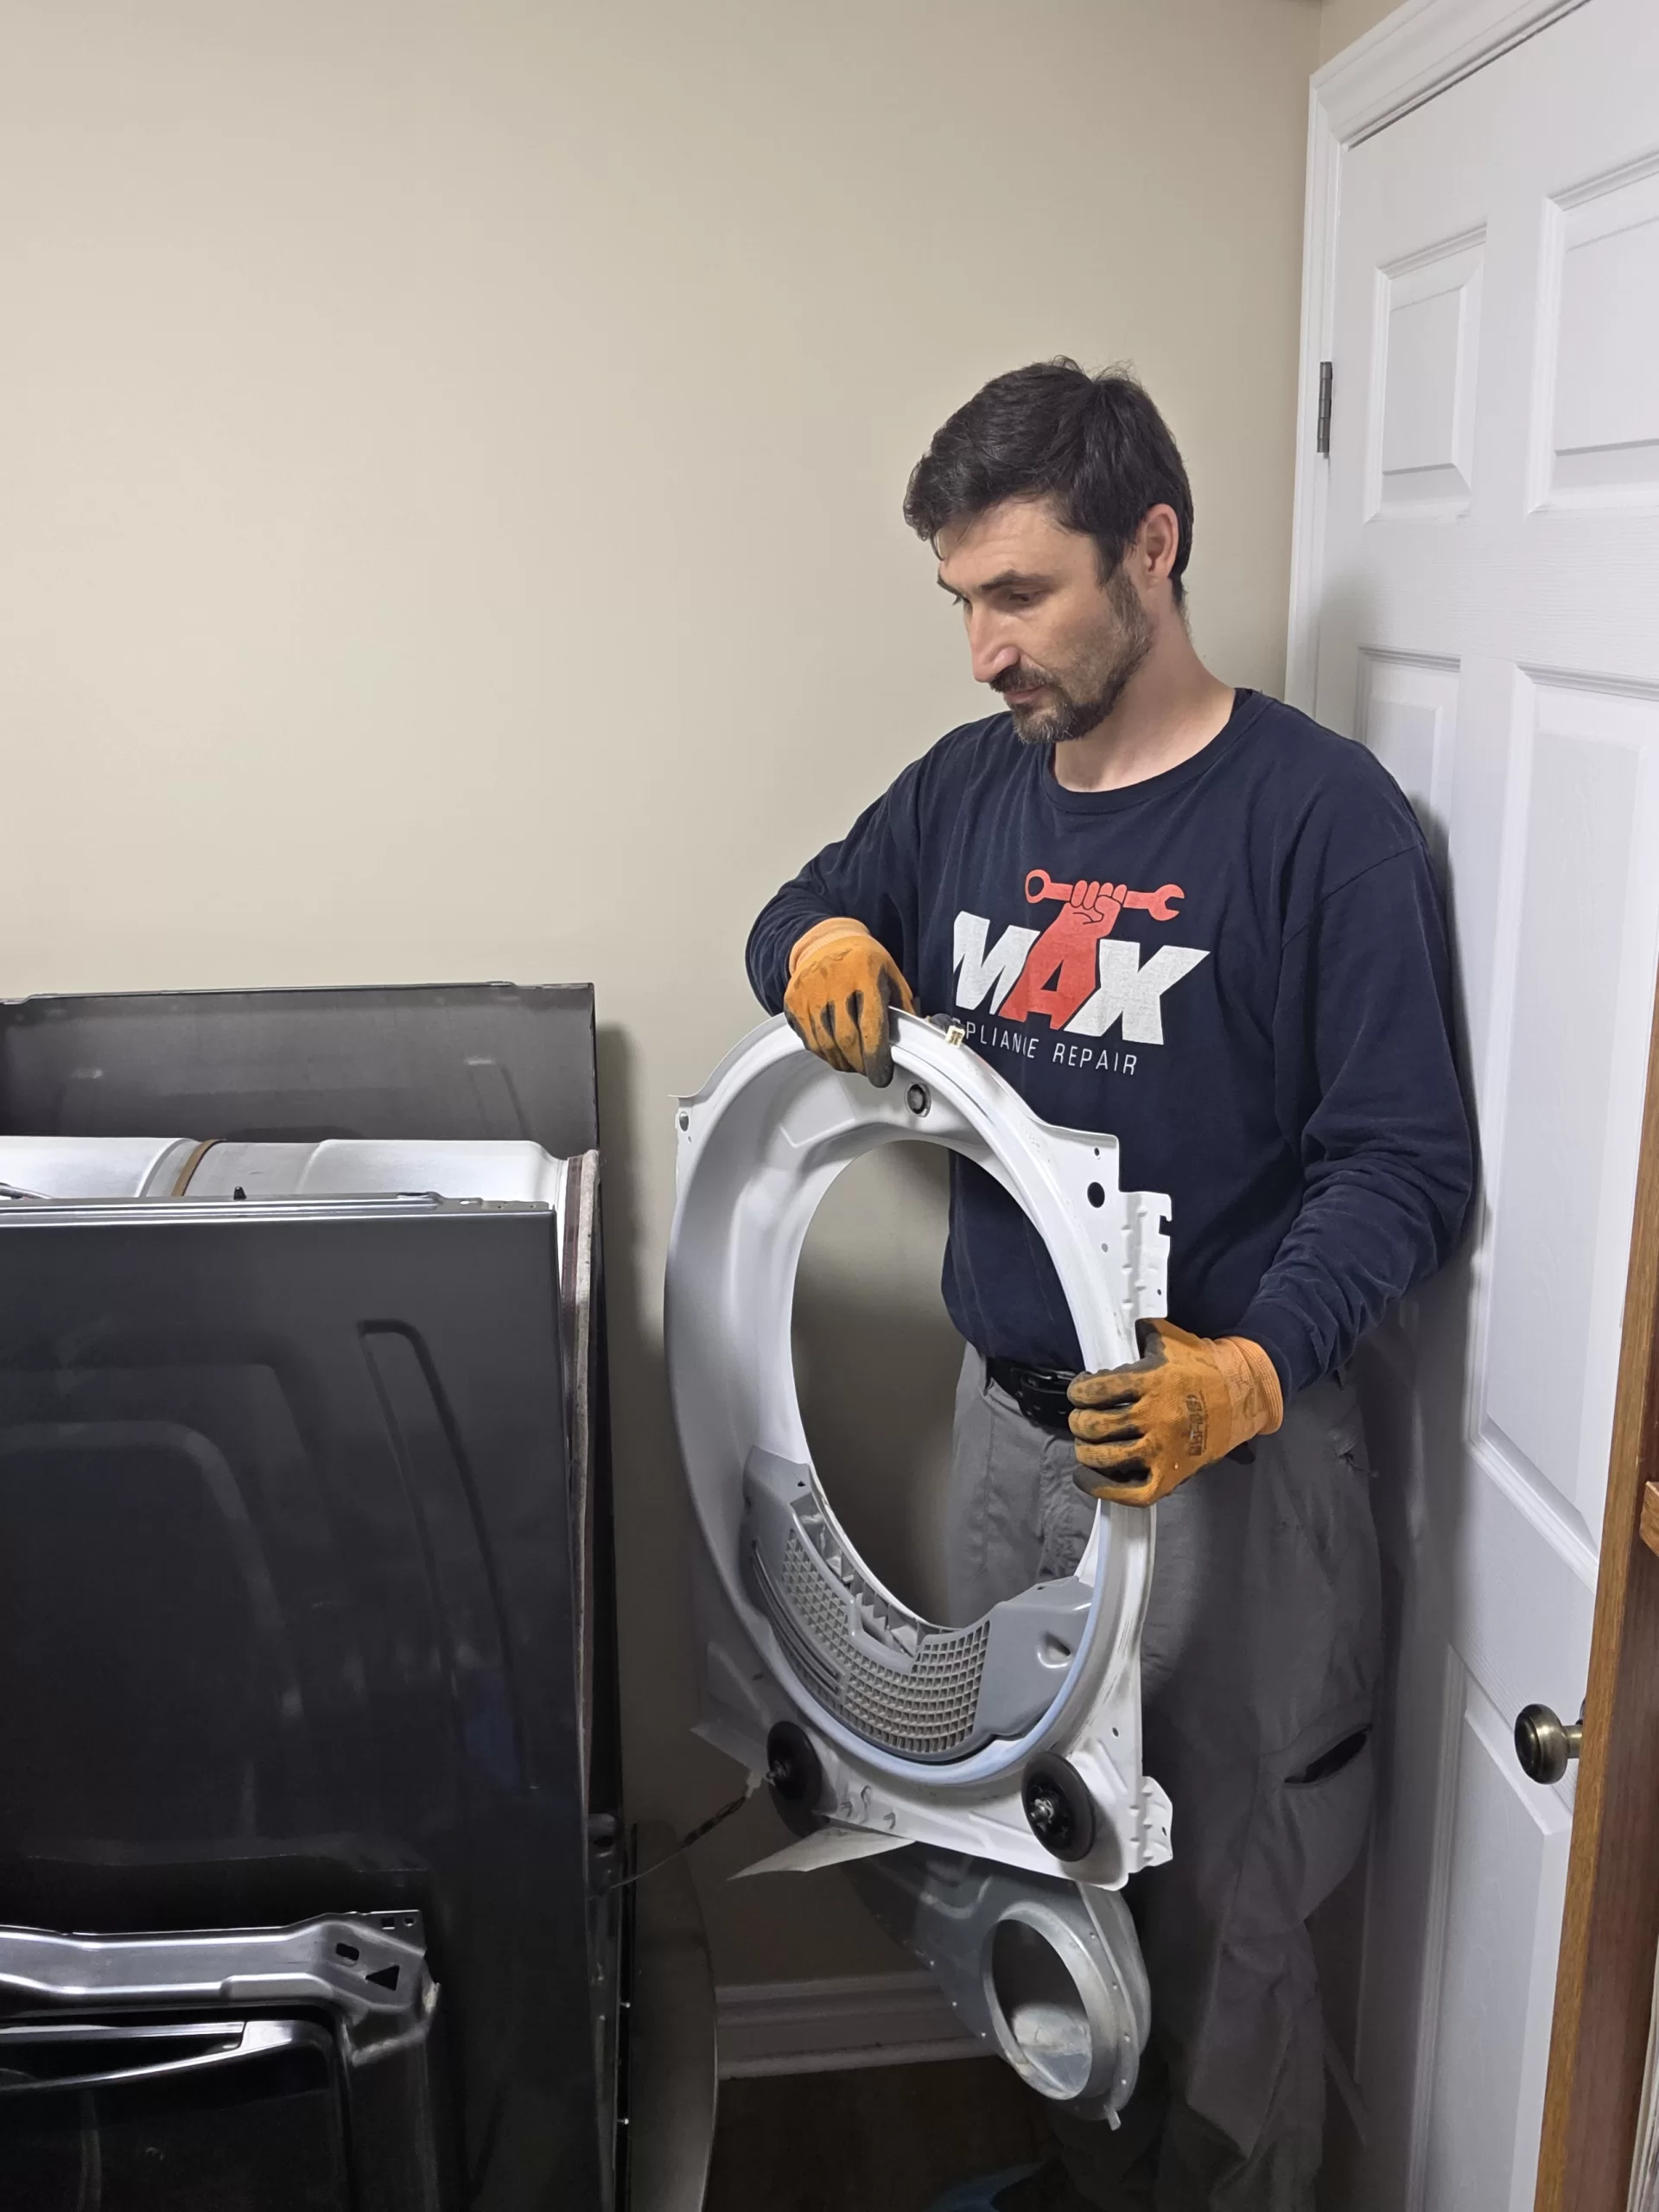
Putting the dryer back together
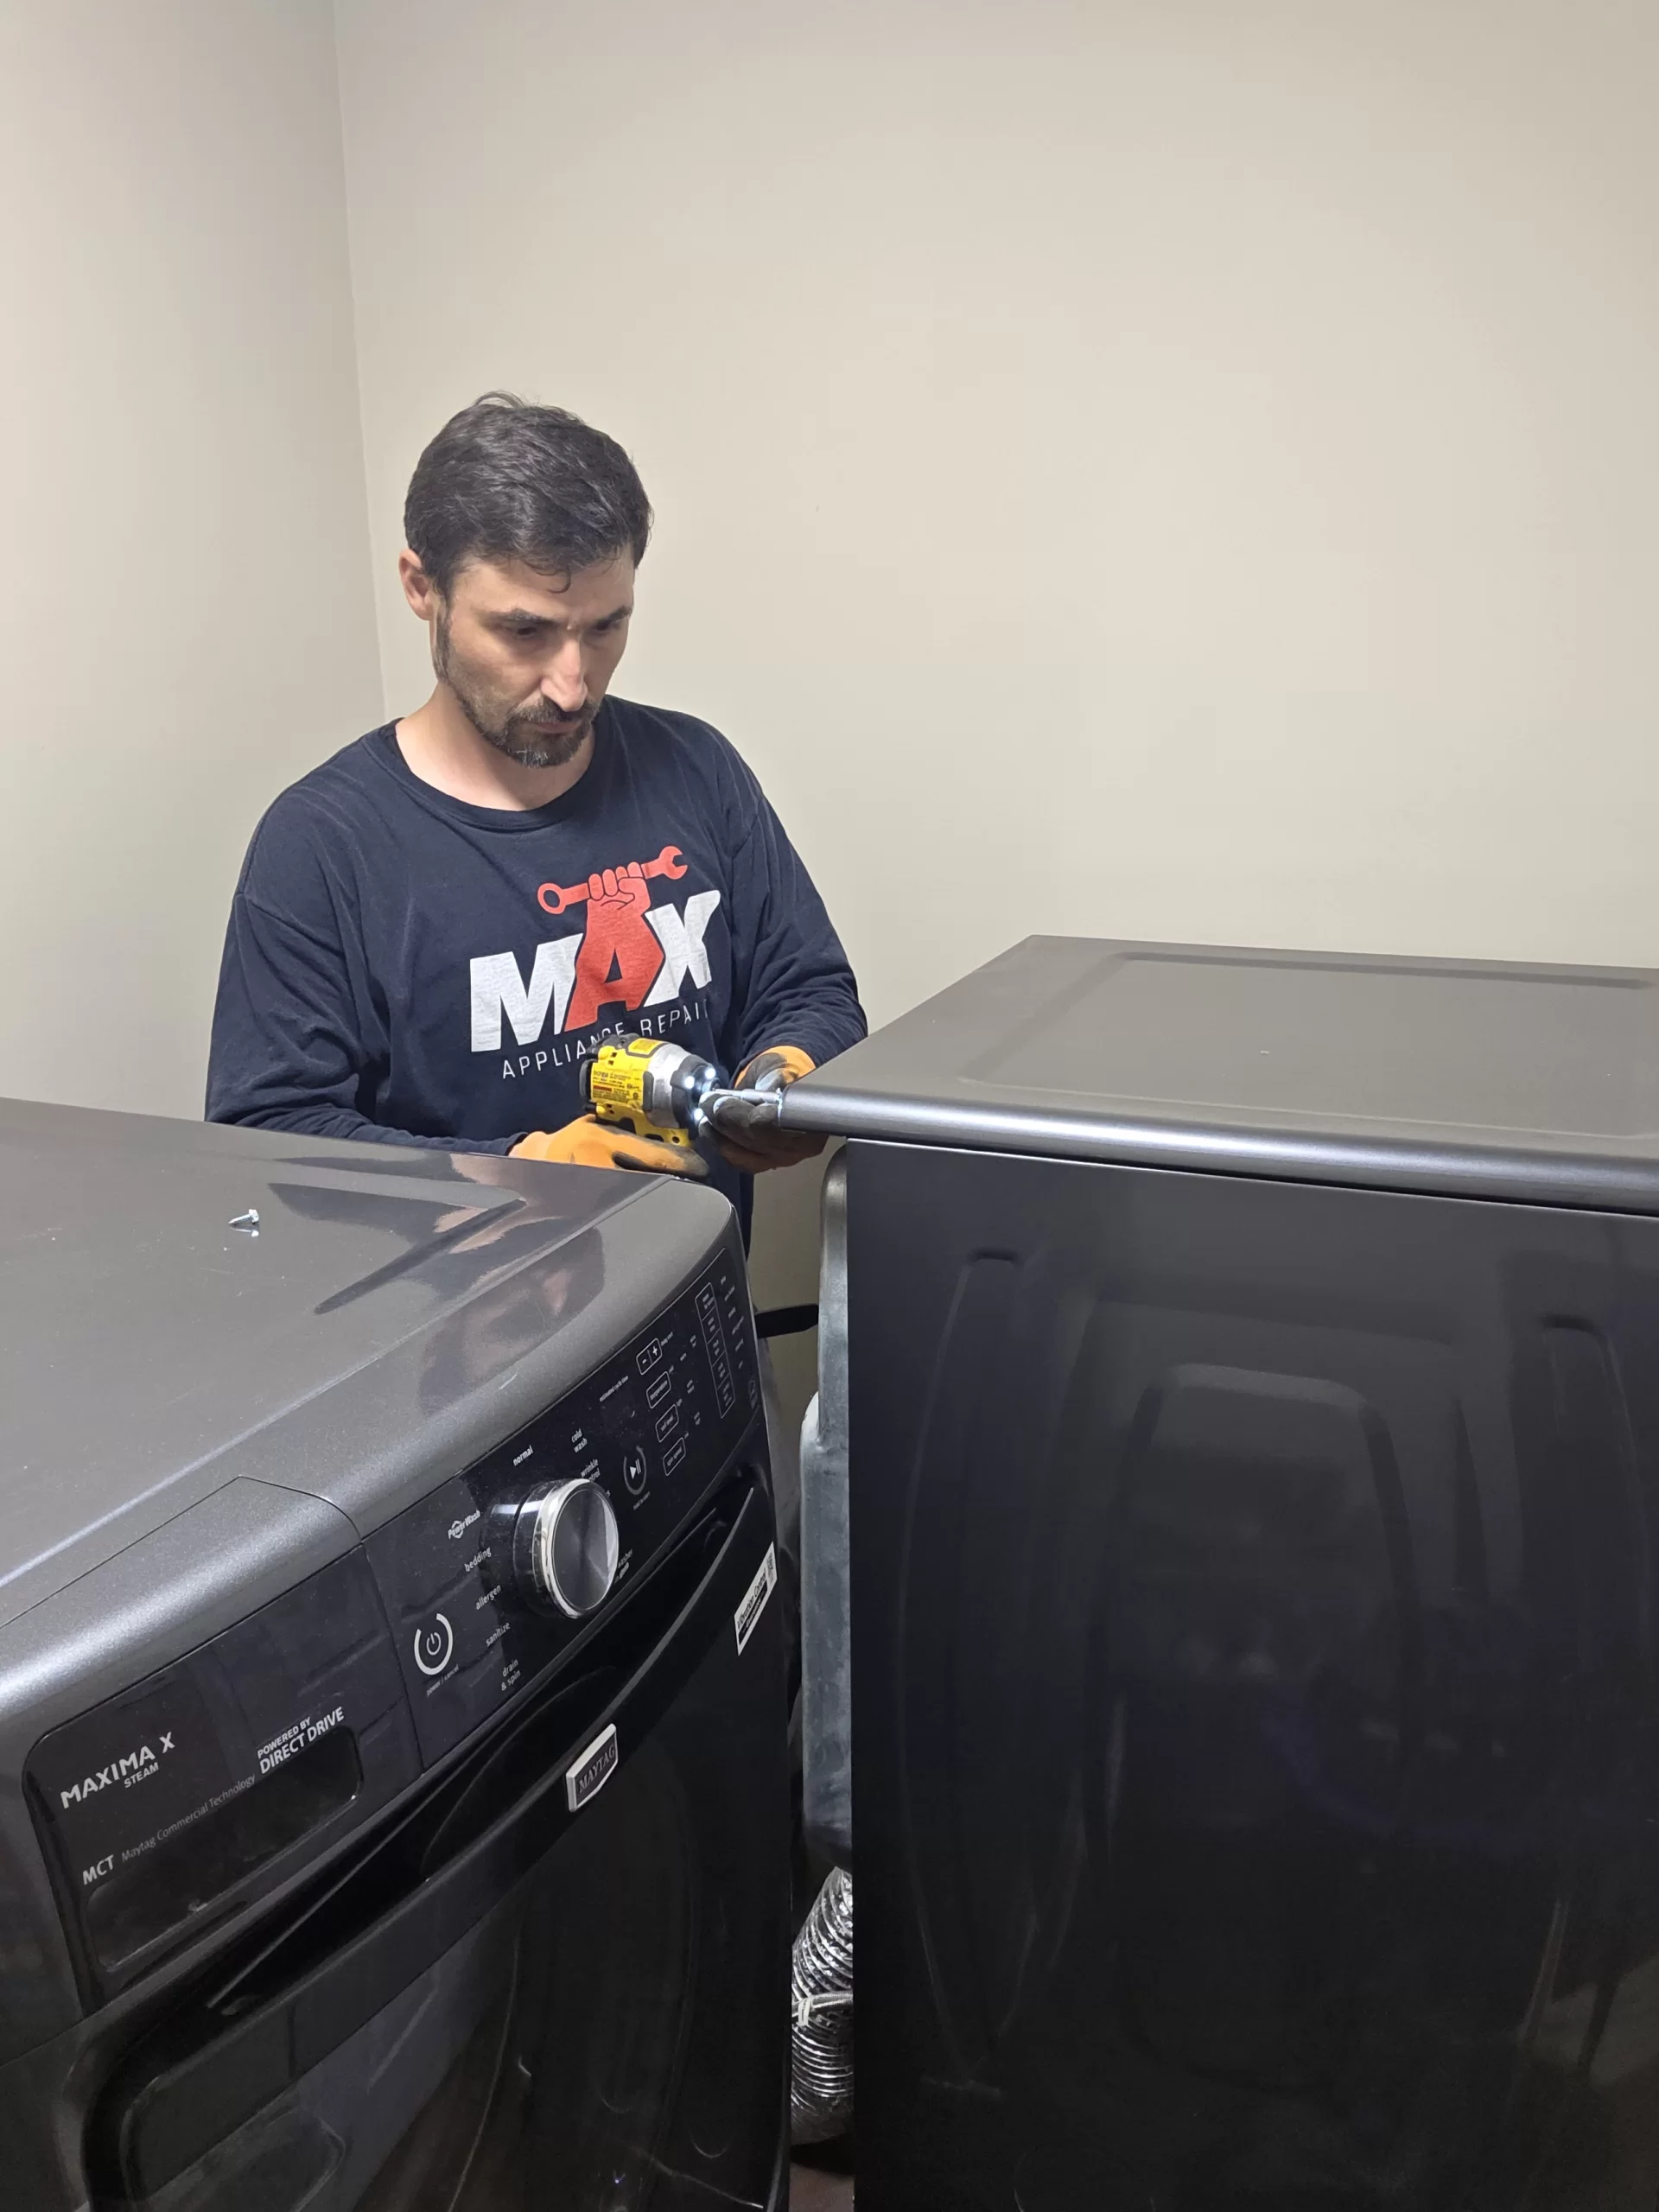
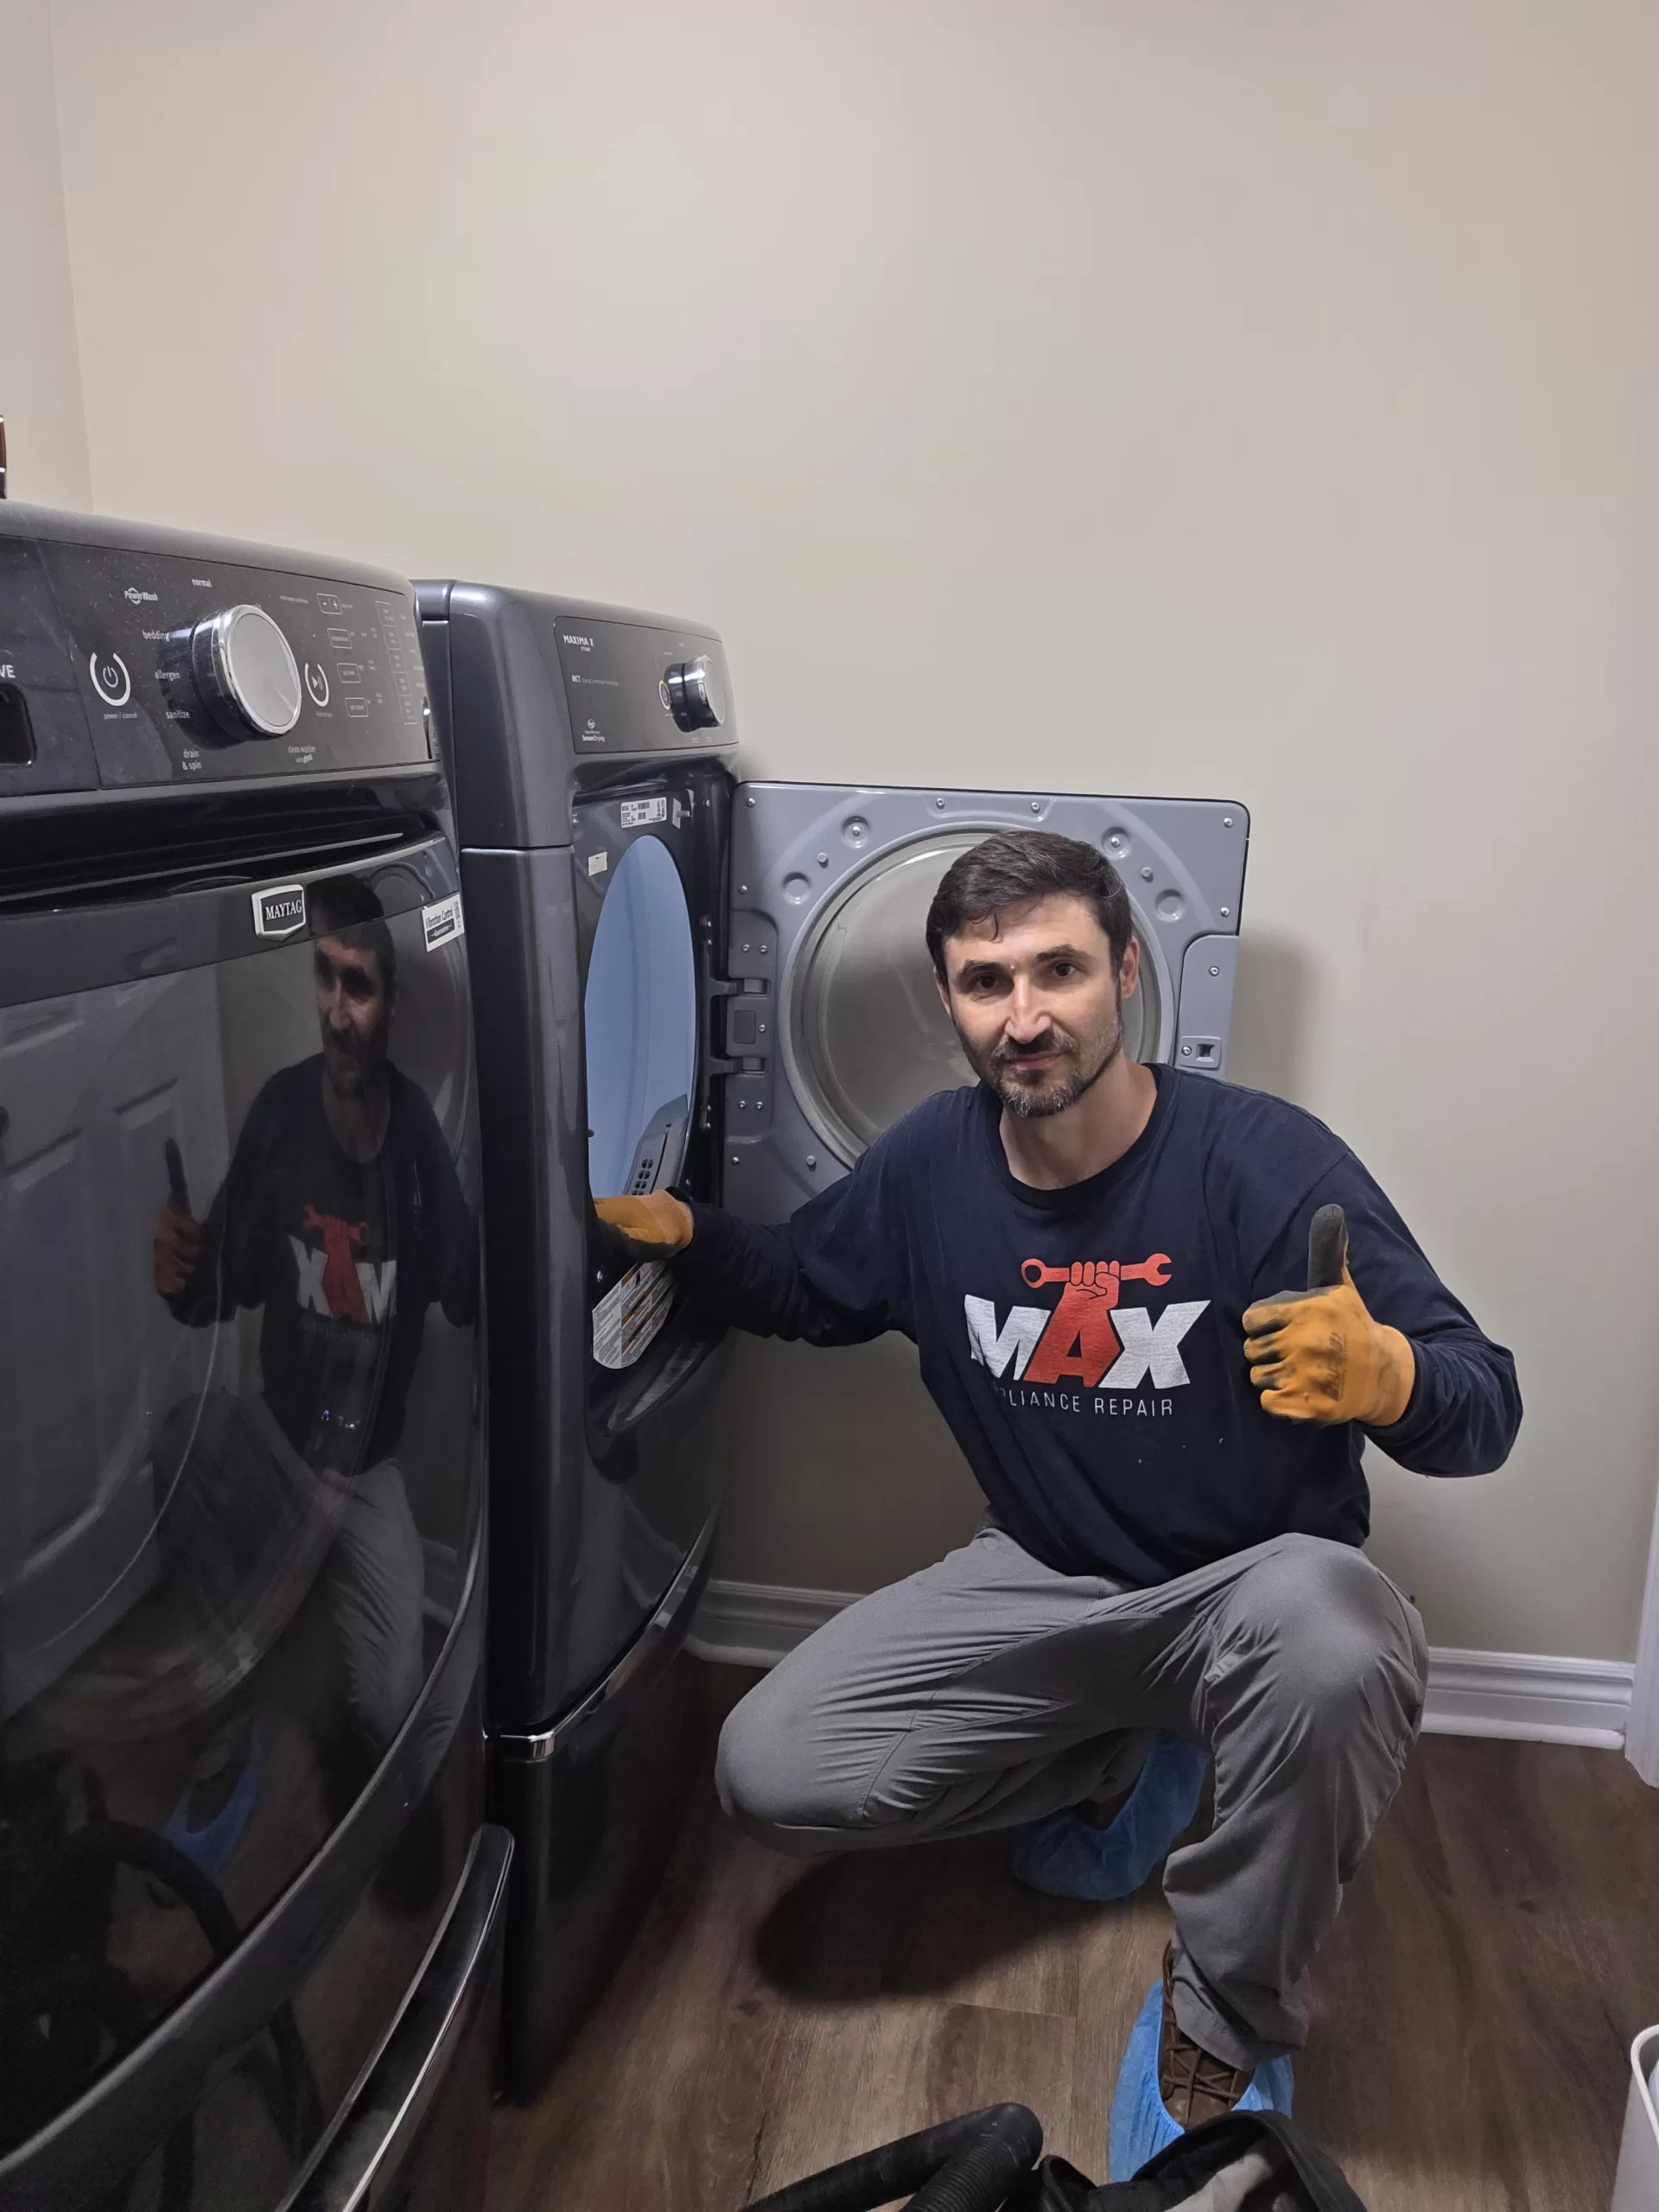
We reinstalled the drum and cabinet pieces, secured the top and returned the console to position. By the end of the project, the Maytag dryer was fully reassembled and the work area was tidy.
Need Maytag dryer repair in Brandon?
If your dryer is taking too long, not heating or making a new sound, tell us when the problem happens and whether the drum still turns. We will use those details to plan the next step.
Learn more about our appliance repair services in Brandon, how we fix Maytag appliances and restore your dryer, or see more recent repairs.
Inside a Maytag dryer heating element replacement and deep cleaning, from cabinet disassembly to final reassembly for Brandon homeowners.